
iPhones have one of the best cameras in the smartphone market. They provide breathtaking photos every time we use them in any scenario. But there are times when the photos appear to have some errors. For example, try to take a photo of the sun in the morning or the evening. Now, when you will look at the picture, then you will see that there is a green dot in the photo. This dot will ruin your picture. Now, how can we remove this green dot from the picture? Is there any method to remove these green dots from the photos? So, today we will look at some of the methods that one can use to remove this hideous green dot from their pictures. There are also some additional steps, that one can use to take better pictures on an iPhone.
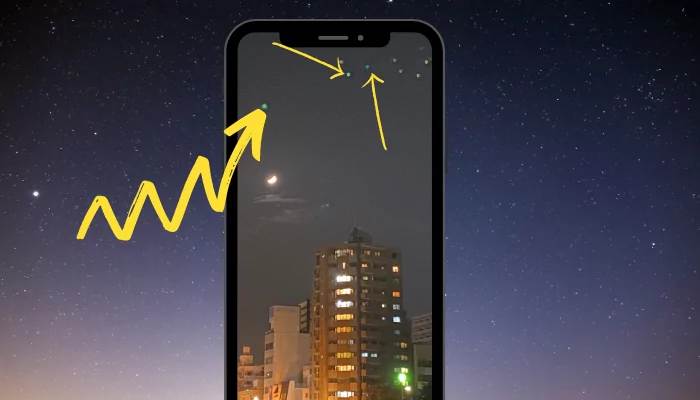
What is a green spot?
Now, the above scenarios will push you to question whether your iPhone is working properly or not. Is there any issue with the software? Is there any issue with the camera lens? These are the usual questions that can arise in your mind. But no, these questions are invalid. It is because the green dot is simply a flare that occurs in photos when you try to take a snap in a bright environment.
Is there any way to get rid of the green spot?
Now, to look at this issue closely, we need to keep in mind that the quality of a photo depends upon environmental conditions. It means that the lighting conditions in the surrounding area also play a vital role in a picture. If you point your camera towards a bright source of light, then it can cause a green dot in your picture. The same also occurs in the case of the sun. During the sunrise or sunset, directly pointing your camera towards the sun for a photo can cause a green dot in your picture.
Precautions that you can take to take better photos on your iPhone
Now, to improve the quality of your photos on an iPhone there are some tips. You can use these methods to take better photos and avoid some minor issues that you may face sometimes. The various individual tips are given below as follows: –
- Clean up the lens glass of your iPhone from time to time to remove any dust particles. It will remove the occasional bad images.
- You must use a thick protective case for your iPhone. Here, the case must have a raised gap for the camera to protect your camera glass and lens from accidental damage or scratches.
- Use a camera lens protector for your lens. It will also avoid accidents from damaging your camera glass.
- Keep the iPhone software up-to-date. To do so, you need to perform the following sequential steps: –
- Go to settings.
- Select General.
- Select System update.
- Tap on the update that you want to install.
- Select the option of Install now.
Note: Before installing any system update, make sure that your iPhone has at least 50% battery. For the safe side, you must keep your device plugged in for charging while installing system updates.
Now, the above five steps will install the latest update on your iPhone.
- Install the camera app updates as soon as possible. To do so, you need to perform the below given sequential steps: –
- Go to App Store.
- Select your profile icon.
- Now, find the camera app from the list of pending updates app.
- Tap on the Updatebutton that is present beside the camera app.
Now, the above four steps will update your camera app.
- As a last tip, you must also keep your iPhone screen clean and in a good condition. You may use a screen protector to protect it. If there is any issue with your screen, then take it to the nearest service centre as soon as possible. A perfect screen will not show the occasional defect in a picture, that we can see due to a defective screen.
Steps to remove a green spot from your photo
Now, to remove this green dot from the picture, you can follow some simple tricks. First of all, you can keep the angle of your iPhone in such a manner that the green dot coincides with the position of the light source. It will remove the green dot from your picture. Now for the second method, you can cover some portion of your lens to avoid the green dot. These two methods can give you some good results.
Now, on the other hand, there is also software that can assist you in removing the green dot from the photo. You can download them from the App Store and then use them to remove any dot from your photo.
But today, we will look at the most popular software that one can use for free to remove demerits from a photo. The software is Snapseed. Now, to use Snapseed to remove the green dot from your photo, you need to perform some simple steps. The steps are given below in a sequential manner for your convenience: –
- Open App Store.
- Search for Snapseed and install the app.
- Open the app.
- Select and upload the photo that you want to improve.
- Select the tools option from the app.
- Tap on Healing.
- Select and zoom in on the section of the picture where you want to remove the error.
- Tap on the area from where you want to remove the dot.
- Now, the above steps will remove the dot from your picture.
- Now, just tap on the tick mark button to save the image to your phone.
Now, the above steps will remove the dot from your photo.
The steps of this article are easy to perform and anyone can easily execute these steps. Now, you won’t face any issues while getting rid of the green dot from your photo. Now, you can take sunset and sunrise photos without any issues.